Bunny.net Setup
Add a Bunny.net Block
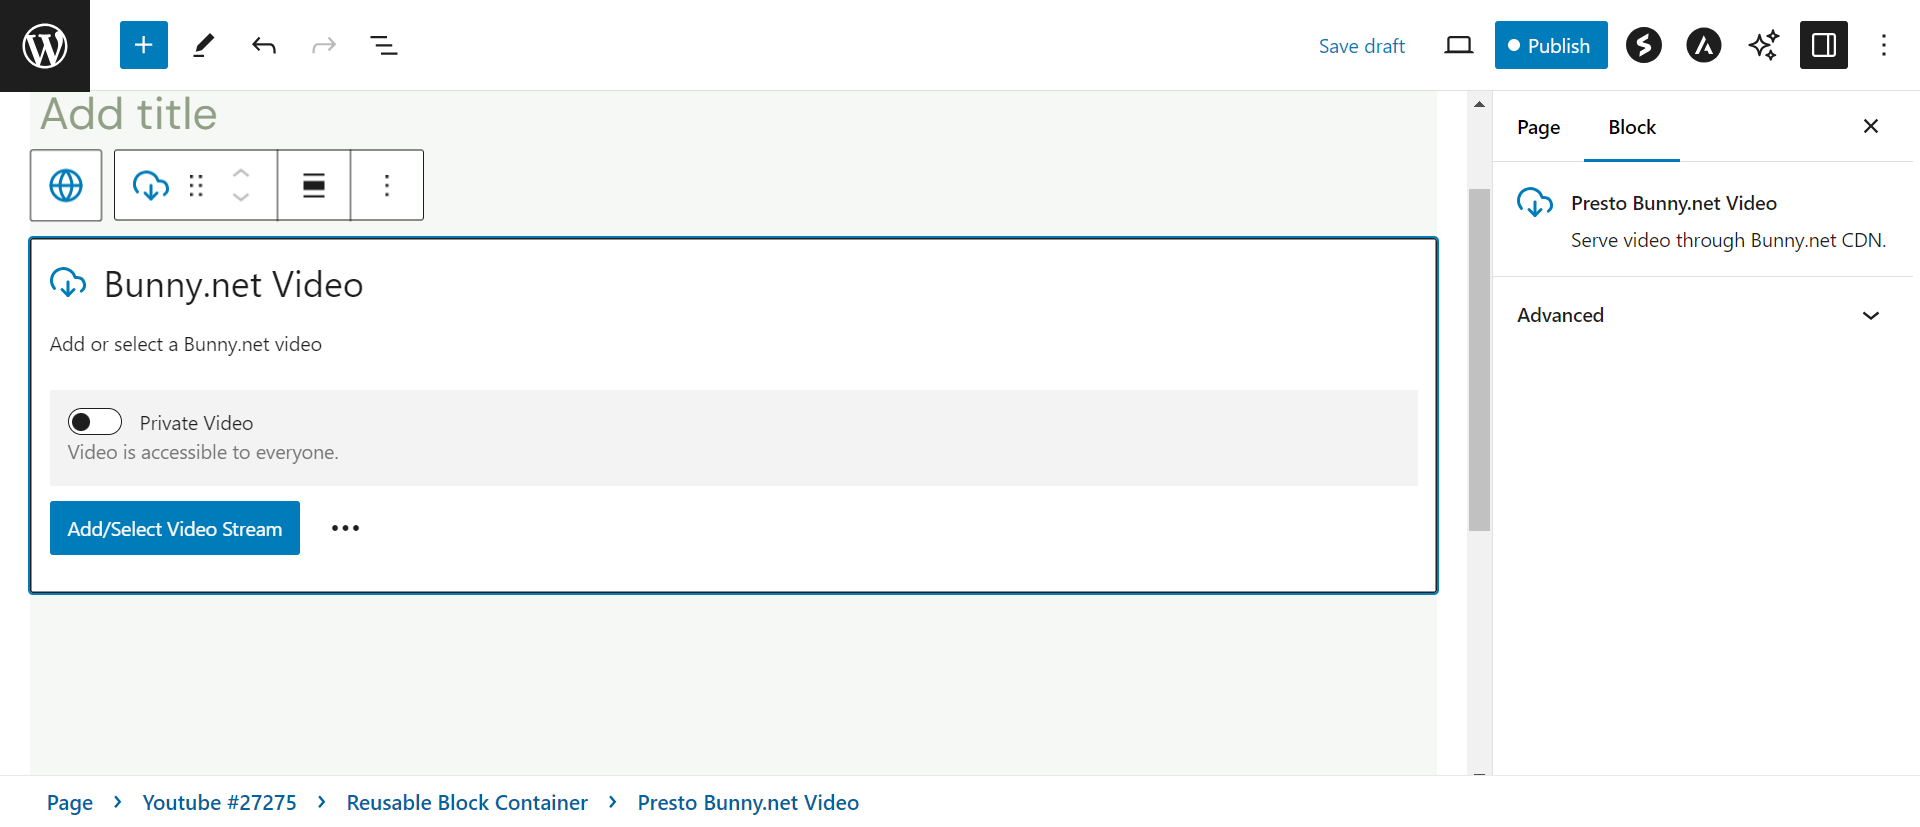
To connect Presto Player to Bunny.net, add a Presto Player block to your page.
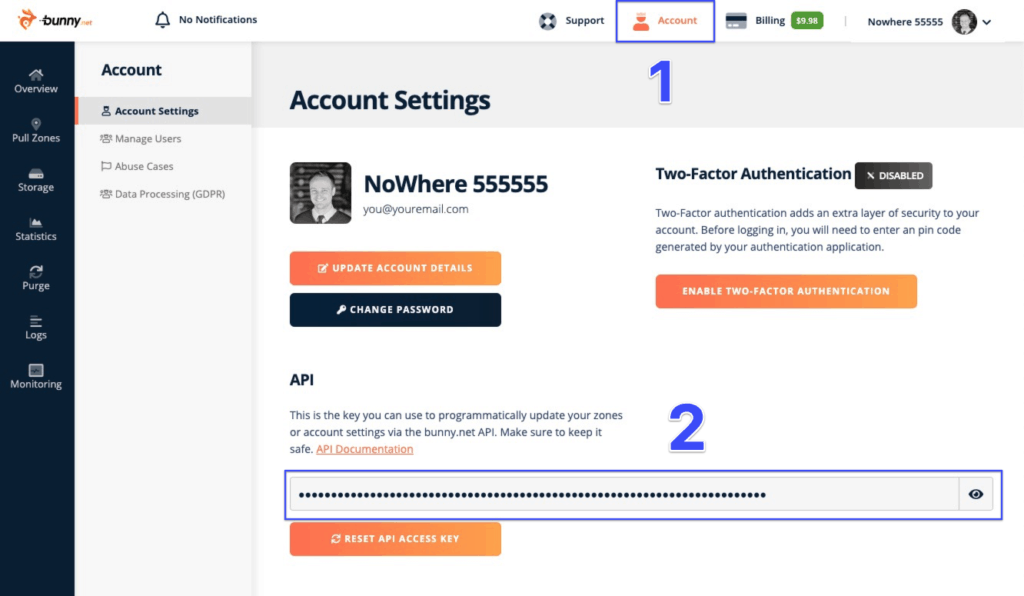
Enter your Bunny.net API key
You can find this on your Account page on bunny.net:
Upload an optimized video file
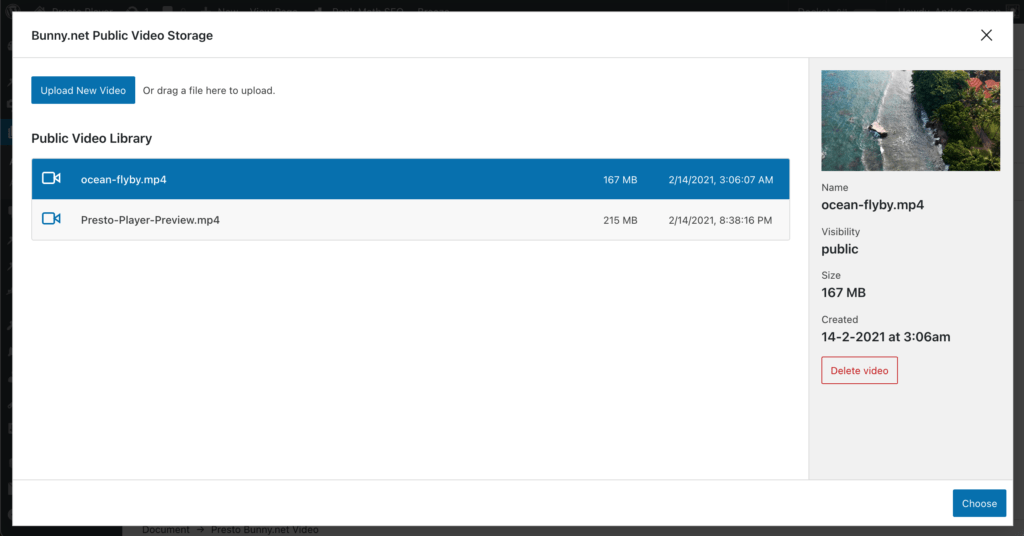
Choose “public” or “private” from the block options and upload your video file. It is recommended that you run your video through a free tool like Handbrake and optimize it for web (720p is typically recommended). Drag your video file to the upload area and it will automatically upload and store on Bunny.net.

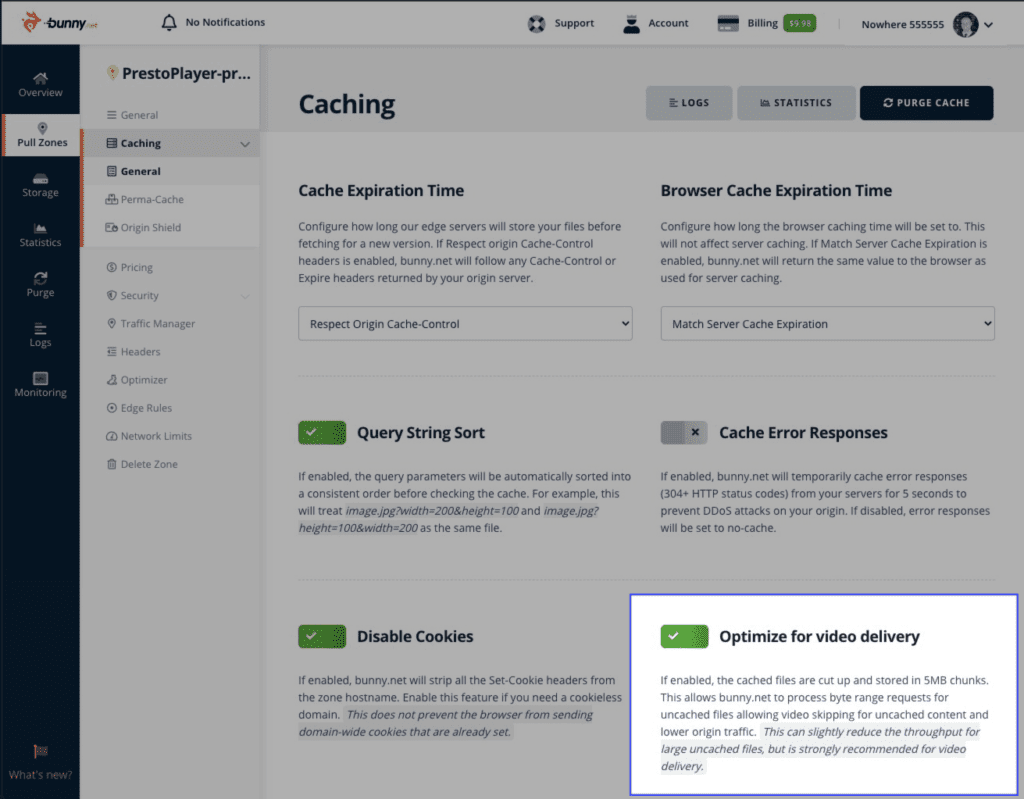
Bonus: Turn on “Optimize for Video Delivery”
To help make video skipping faster, navigate to Pull Zones > (Your Pull Zone Name) > Caching > General and turn on “Optimize for Video Delivery”:
Was this doc helpful?
What went wrong?
We don't respond to the article feedback, we use it to improve our support content.
On this page