Bunny.net Video Library Integration With Presto Player
In Presto Player, we always strive to make it easy for you to integrate your video. If you host your videos with Bunny.net, you can integrate your video library with Presto Player in just a few steps.
This article will help set up the Bunny.net video library integration and add videos directly to your website with Presto Player.
Presto Player Settings
Step 1 – Login to your WordPress dashboard and find the Presto Player option in the left-side menu;
Step 2 – Then navigate to Presto Player > Settings;
Step 3 – Once there, click on the ‘Integrations’ tab;
Step 4 – Then scroll down and look for “Bunny.net Settings“;
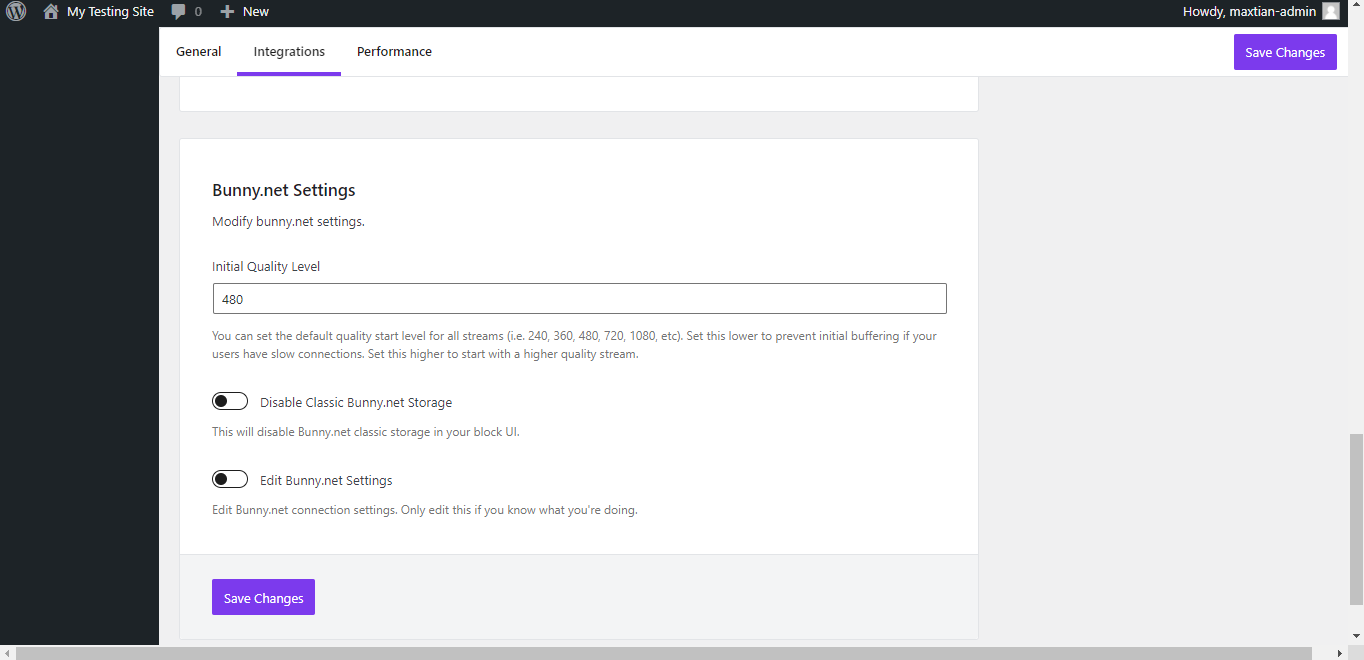
Step 5 – Toggle On the “Edit Bunny.net Settings“;
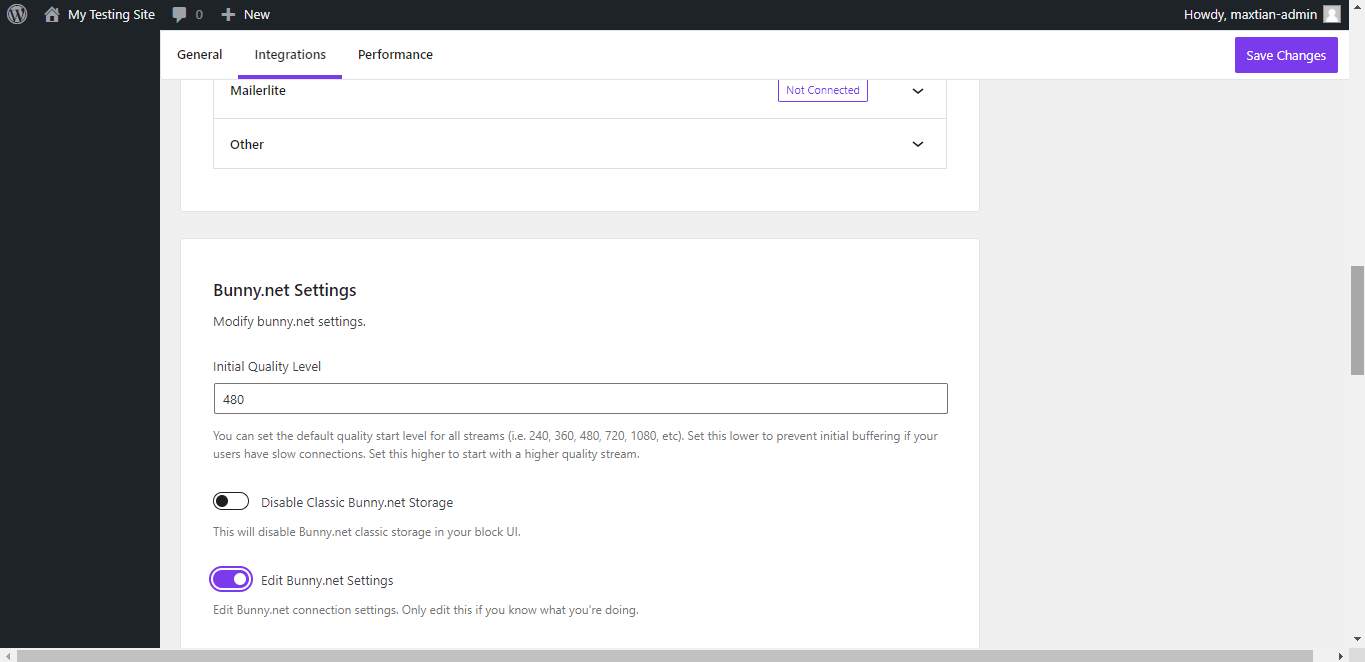
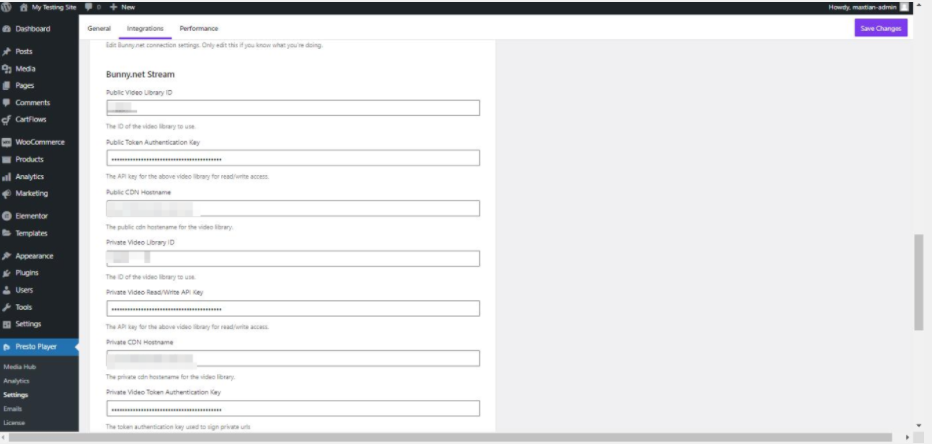
Step 6 – Here, you can enter the BunnyNet stream API details;
Bunnynet Stream Library
Step 1 – Login to your BunnyNet account, then navigate to Stream on the left side;
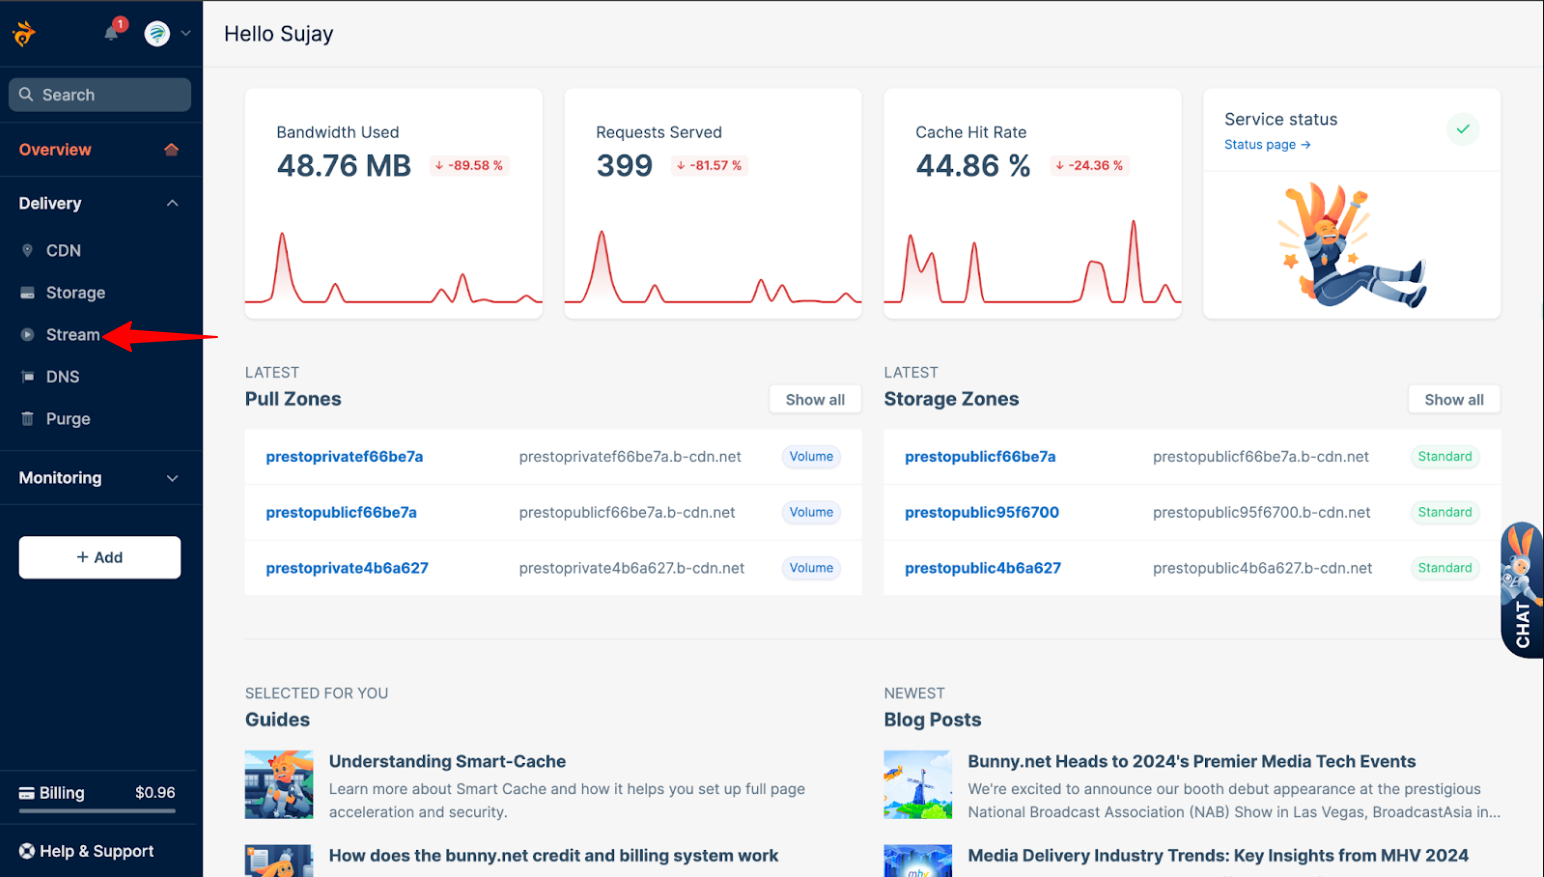
Step 2 – To illustrate, we will use the “Presto Player (Presto Public)” dummy library as shown below;
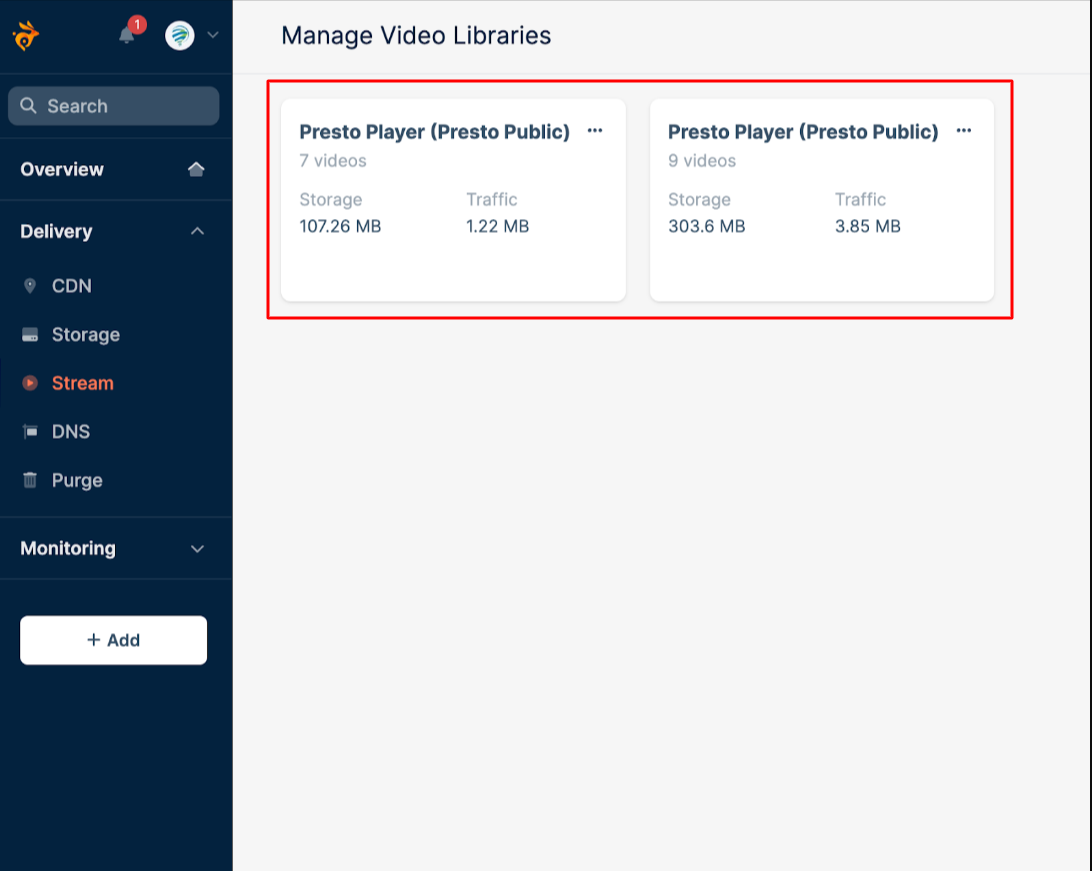
Step 3 – Once you click on the desired library, you will be redirected to the Stream > Manage Library;
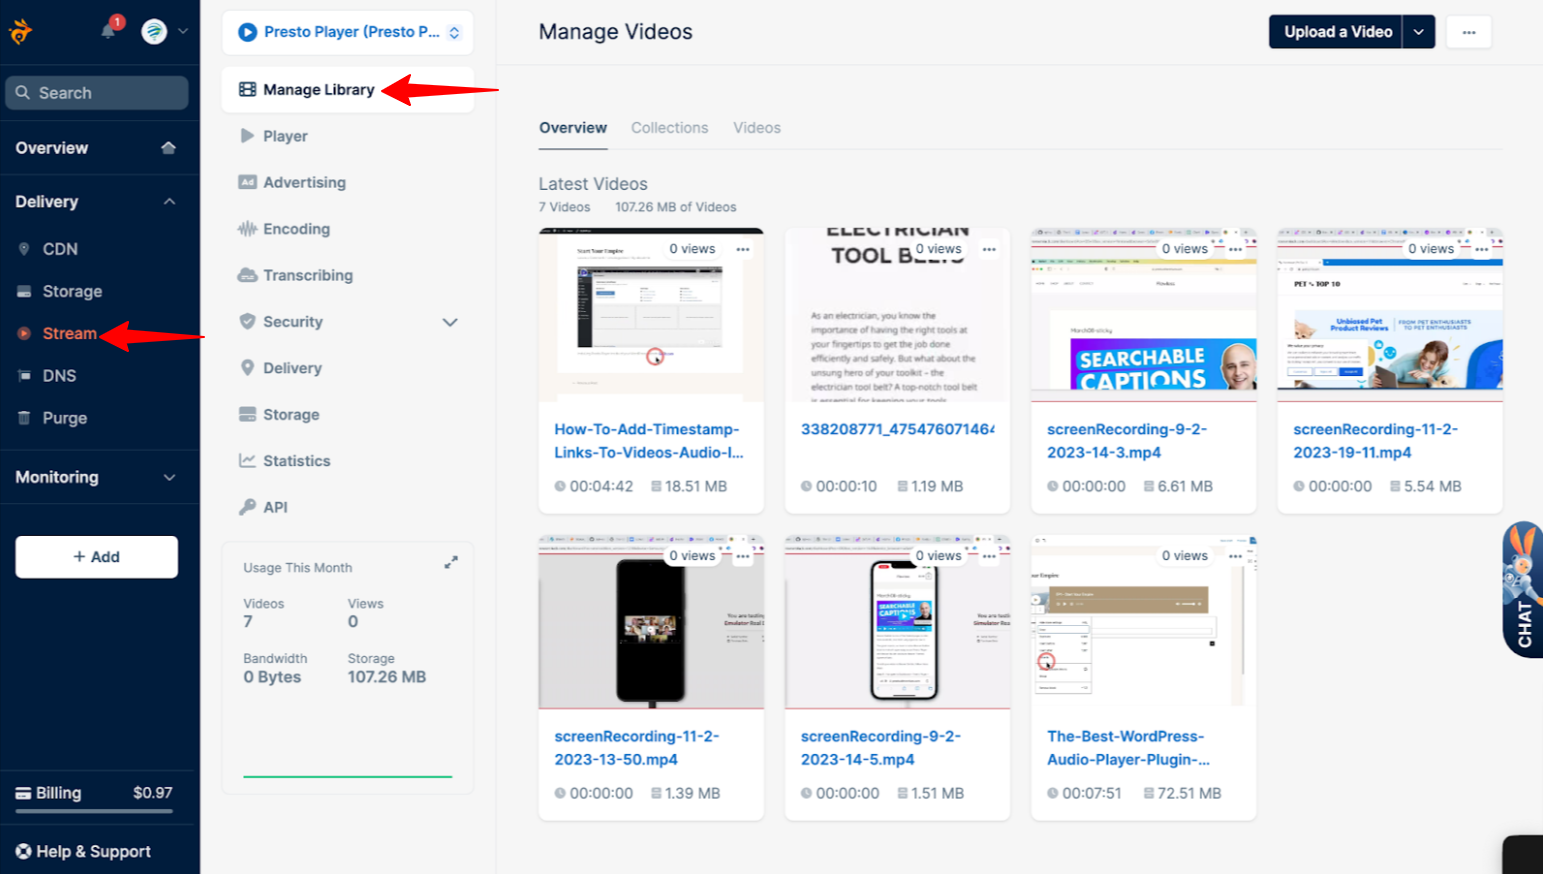
Step 4 – Click on the “API” option to show the API Access Information;

Bunnynet API Information
Below are the details you will need to add to our Presto Player BunnyNet stream integration:
- Video Library ID
- CDN Hostname
- API Key
Save your API details to add them to your website in the next step.
Bunnynet Video Library Integration
Step 1 – Go back to your WordPress dashboard and navigate to Presto Player “Integration” settings;
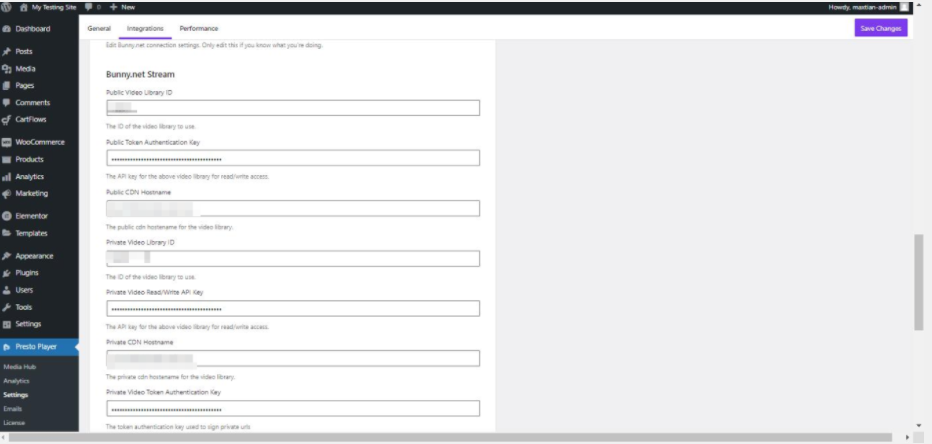
Step 2 – You will need to add your API details to matching fields;
Thus, add your saved Bunny.Net Video Library ID to Presto Player “Video Library ID” fields (both public and private). Next, do the same for CDN Hostname;
Step 3 – Finally, add your API key to the Token Authnetification Key (public and private);
Adding a New Page via Block Editor
Step 1 – Once your Bunny.Net Video Library integration is set, you can add videos stored in the library to your website. Below, we’ll show you how to add a BunnyNet hosted video to a page, as an example;
Step 2 – Search for Presto Player block;
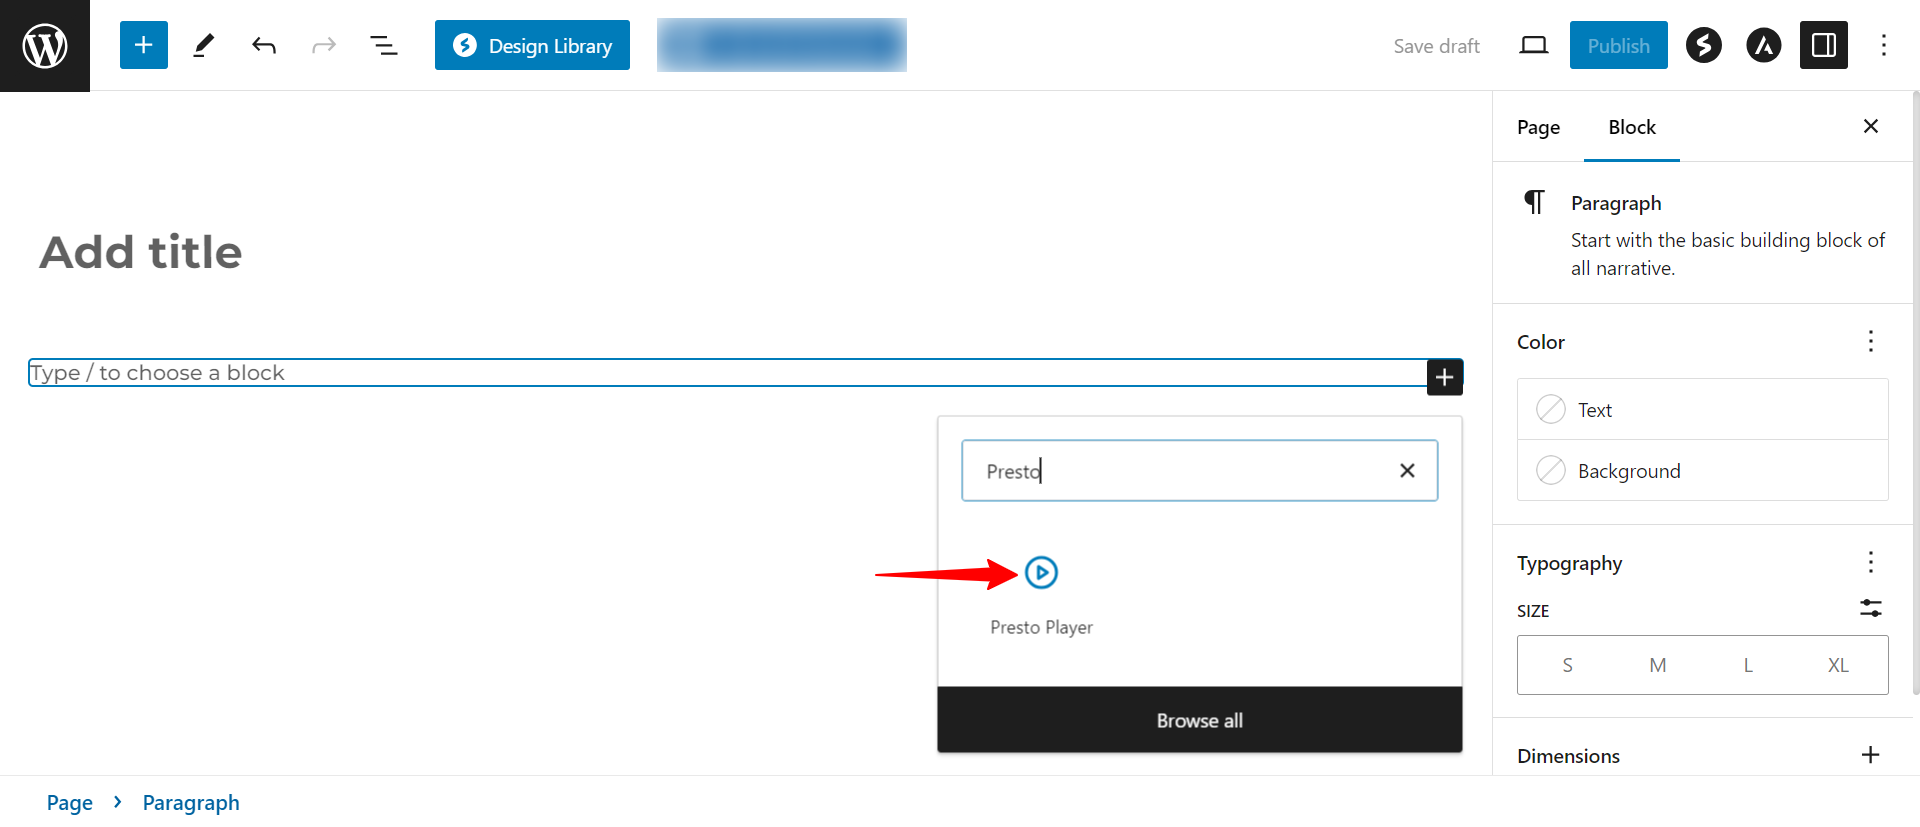
Step 3 – Click on Bunny.net Stream;
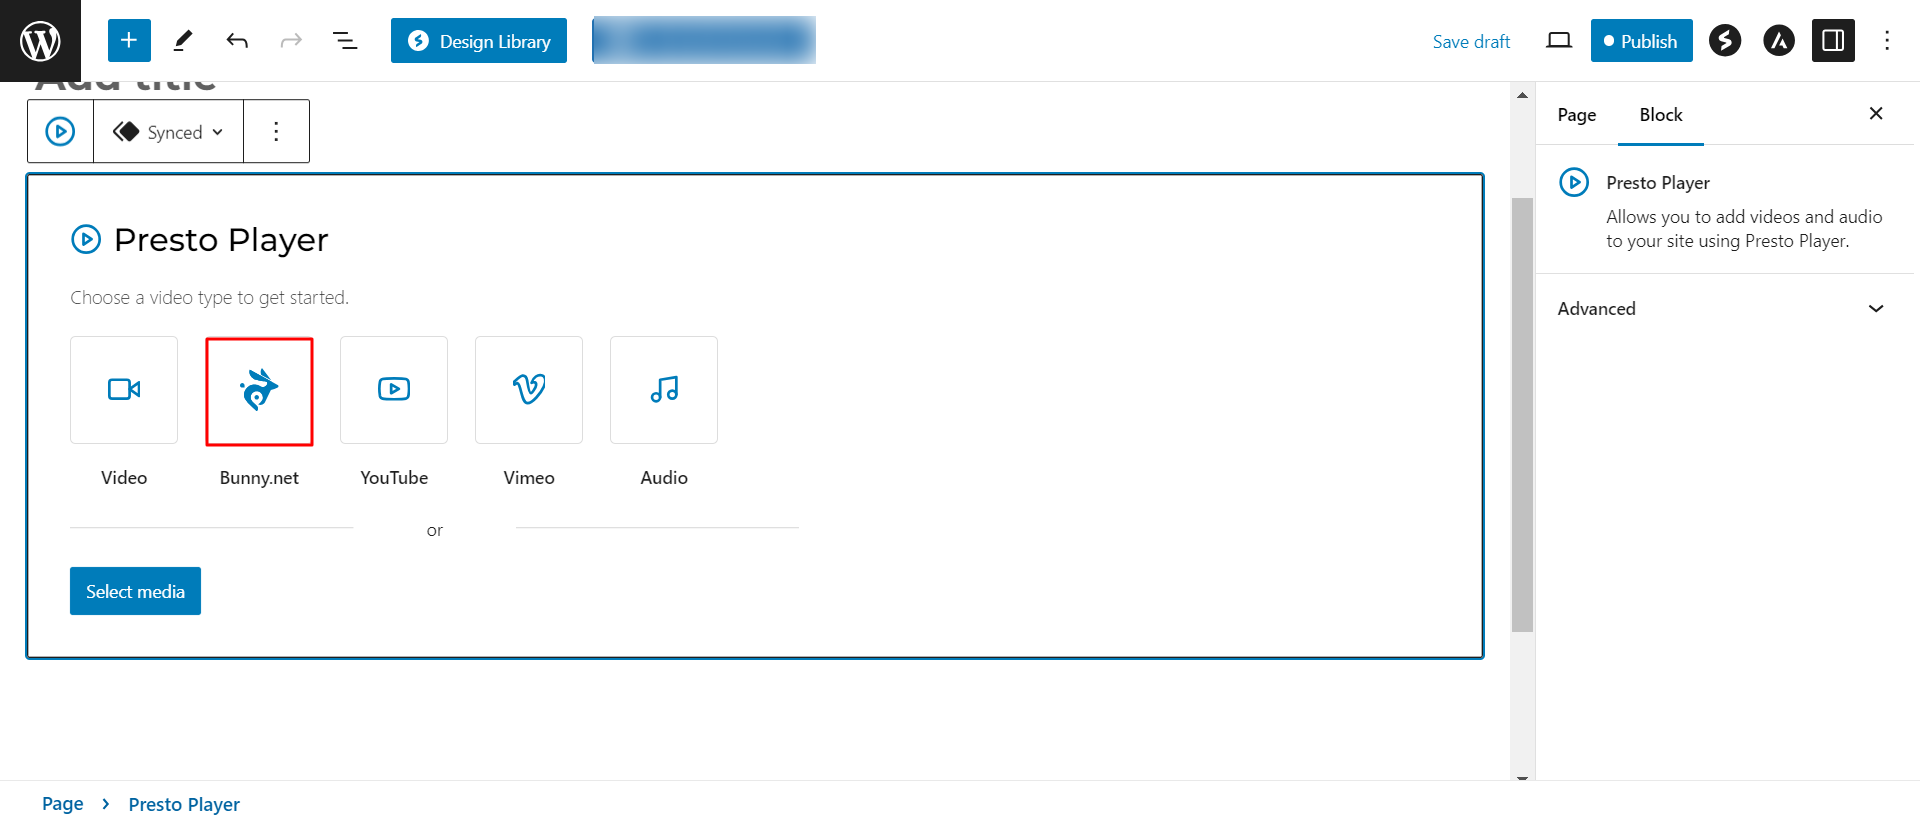
Step 4 – Enter your Bunny.net API key, which can be found on your Bunny CDN Account page and click Next button;

Step 5 – You can add or select video stream here;
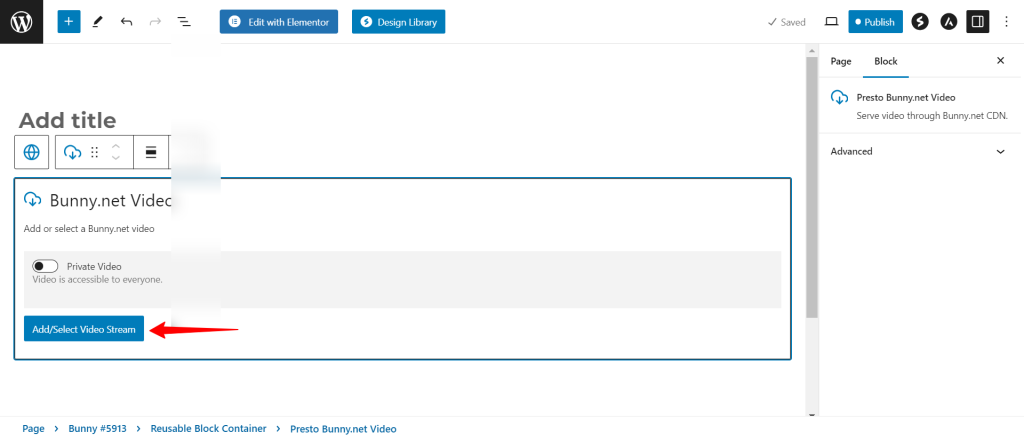
Presto Player Video Settings
Step 1 – You can now apply Presto Player settings to your video;
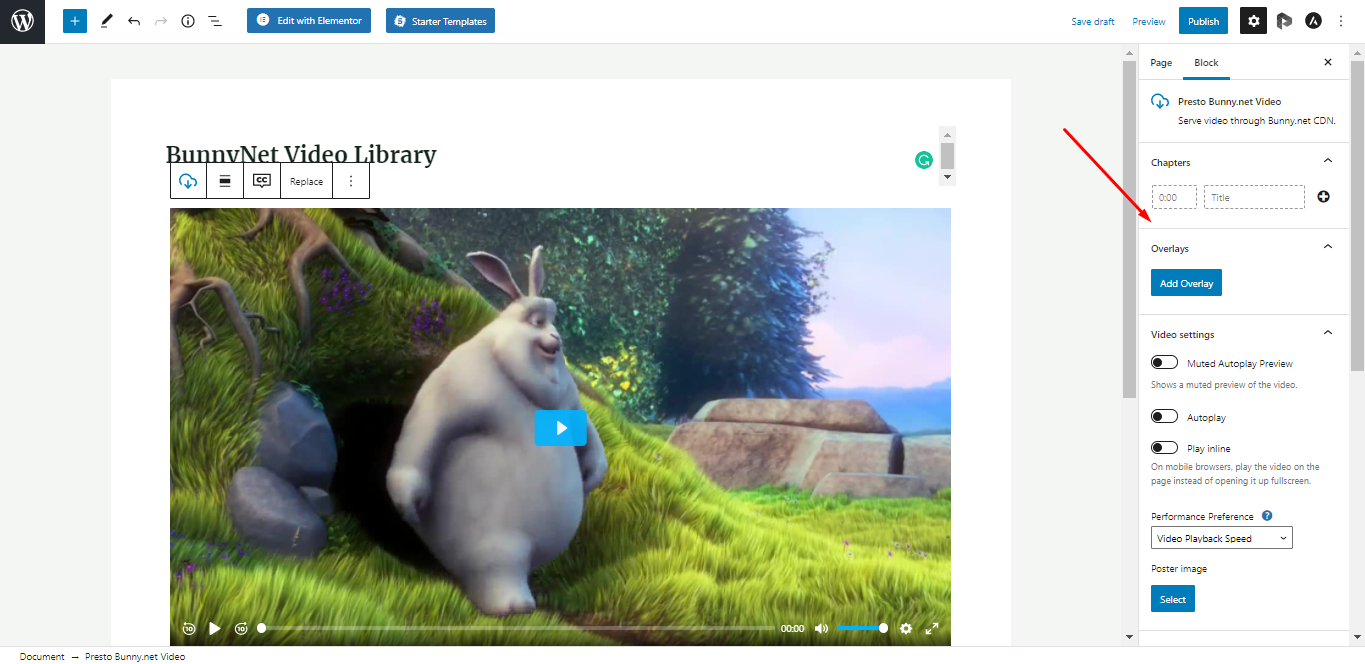
- You can find more details on Video settings in this article
- Further, you can modify the way your video looks by using Presets
Step 2 – Once you set the video, click “Publish” to save changes;
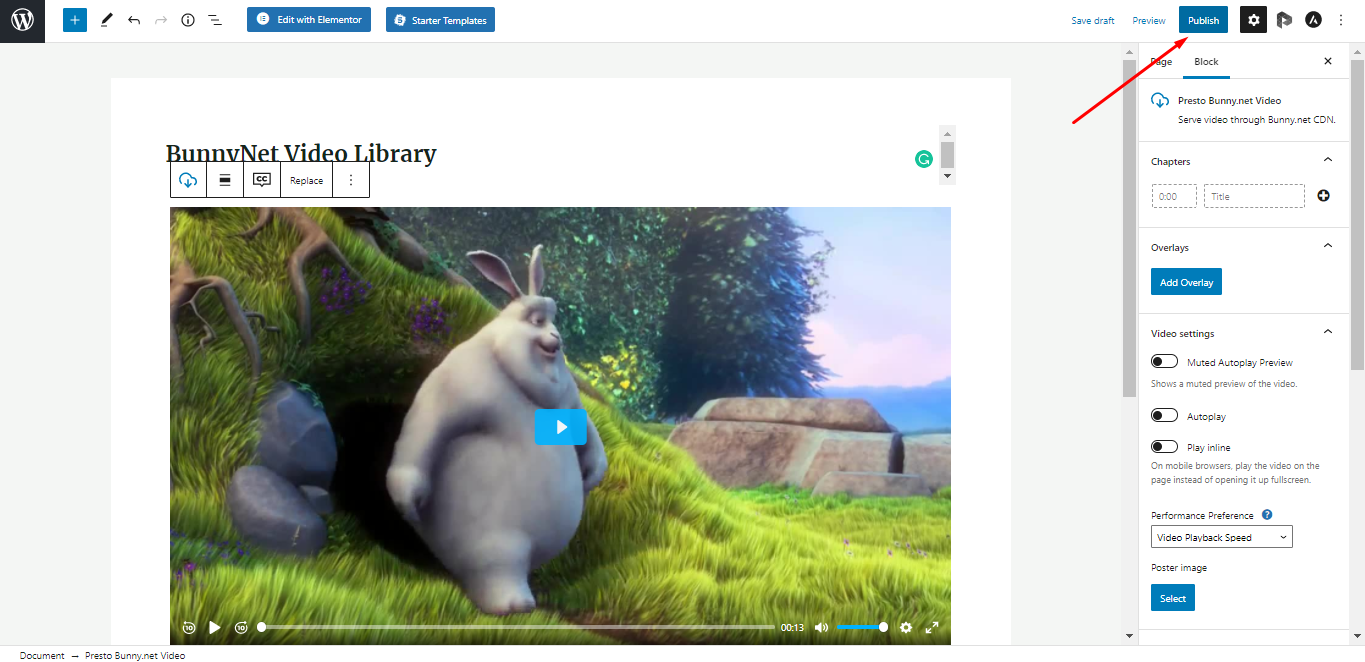
You successfully published the video from the BunnyNet library to Presto Player.
We don't respond to the article feedback, we use it to improve our support content.