Video Presets
Video Presets let you control how your Presto Player looks and behaves without needing to configure each video individually. A preset is a reusable set of player settings that you can apply across multiple videos for consistent styling and behavior.
The free version of Presto Player includes several ready-made presets that cover common use cases. These presets can be applied as-is, or adjusted per video when needed.
If you’re using Presto Player Pro, you can create your own custom presets. This gives you full control over layout, controls, behavior, styling, and more, making it easy to standardize your player setup across your site.
In this article, we’ll go through what presets are, how they work, and how to manage them effectively.
How to Create Custom Presets
Creating custom presets with Presto Player is simple.
Just open any video in the Presto Player Media Hub, click on the video, and on the right-hand side, you’ll find the option to create a new preset (Pro feature).
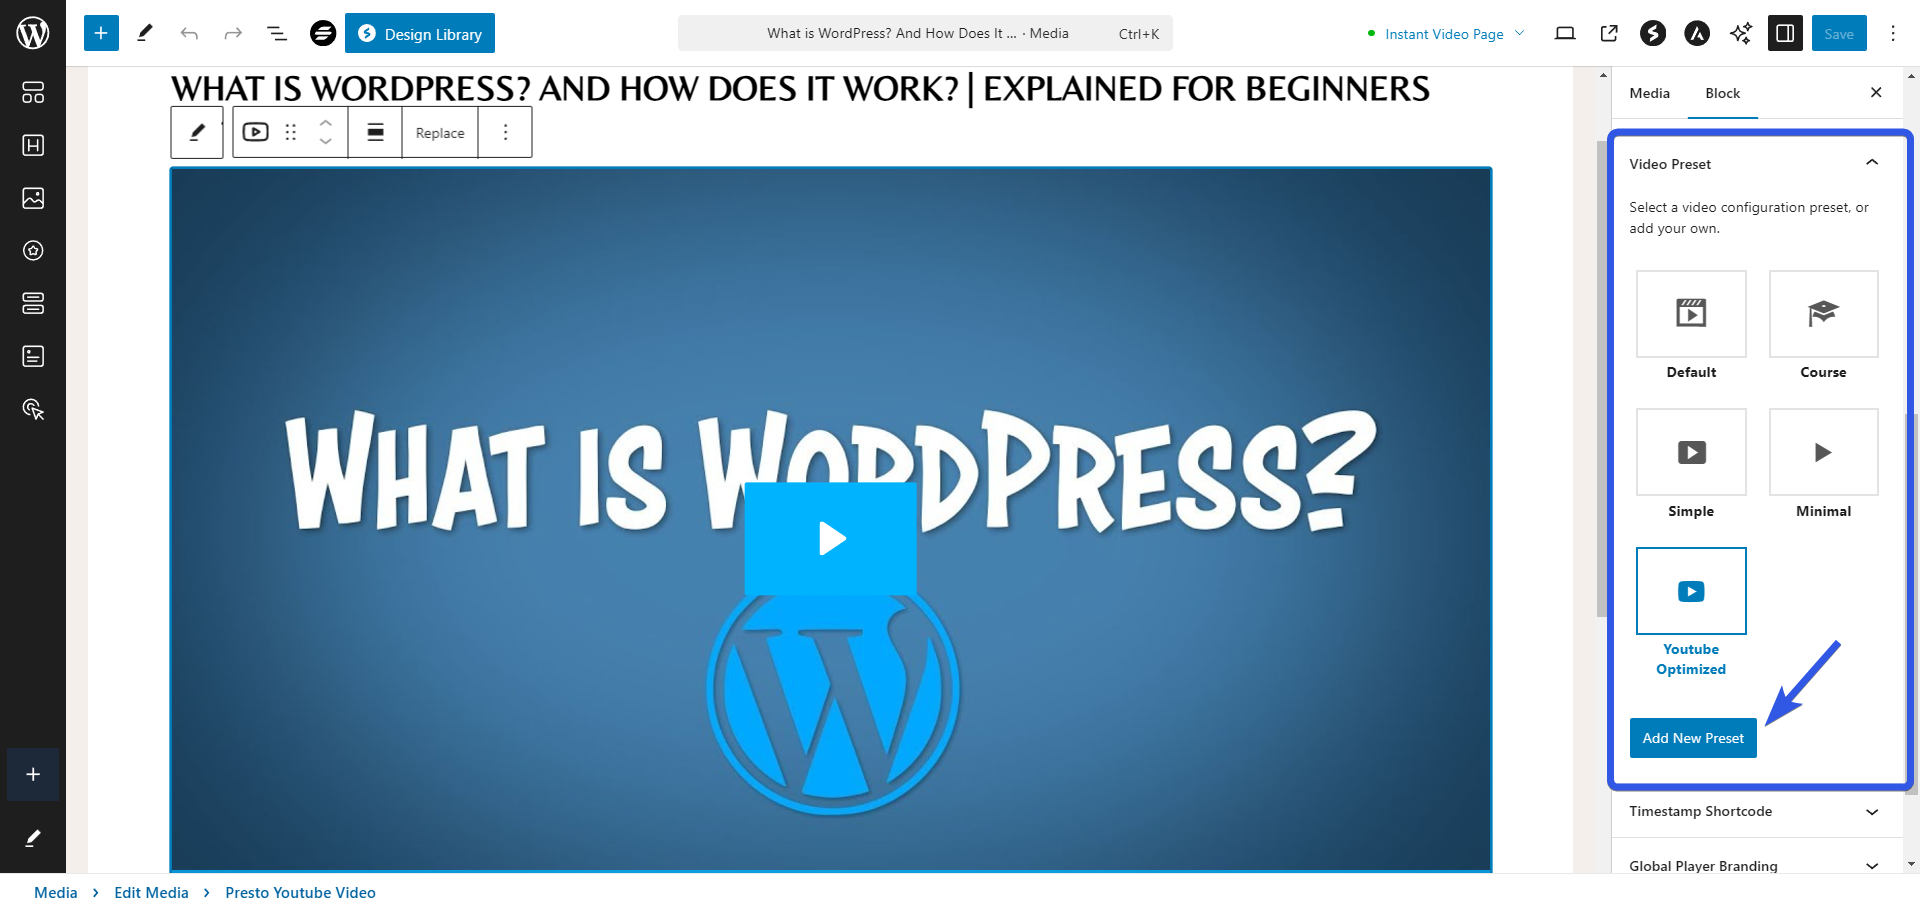
Once you click on that option, a modal will appear with a range of customization choices. You can give your preset any name you like during this step.
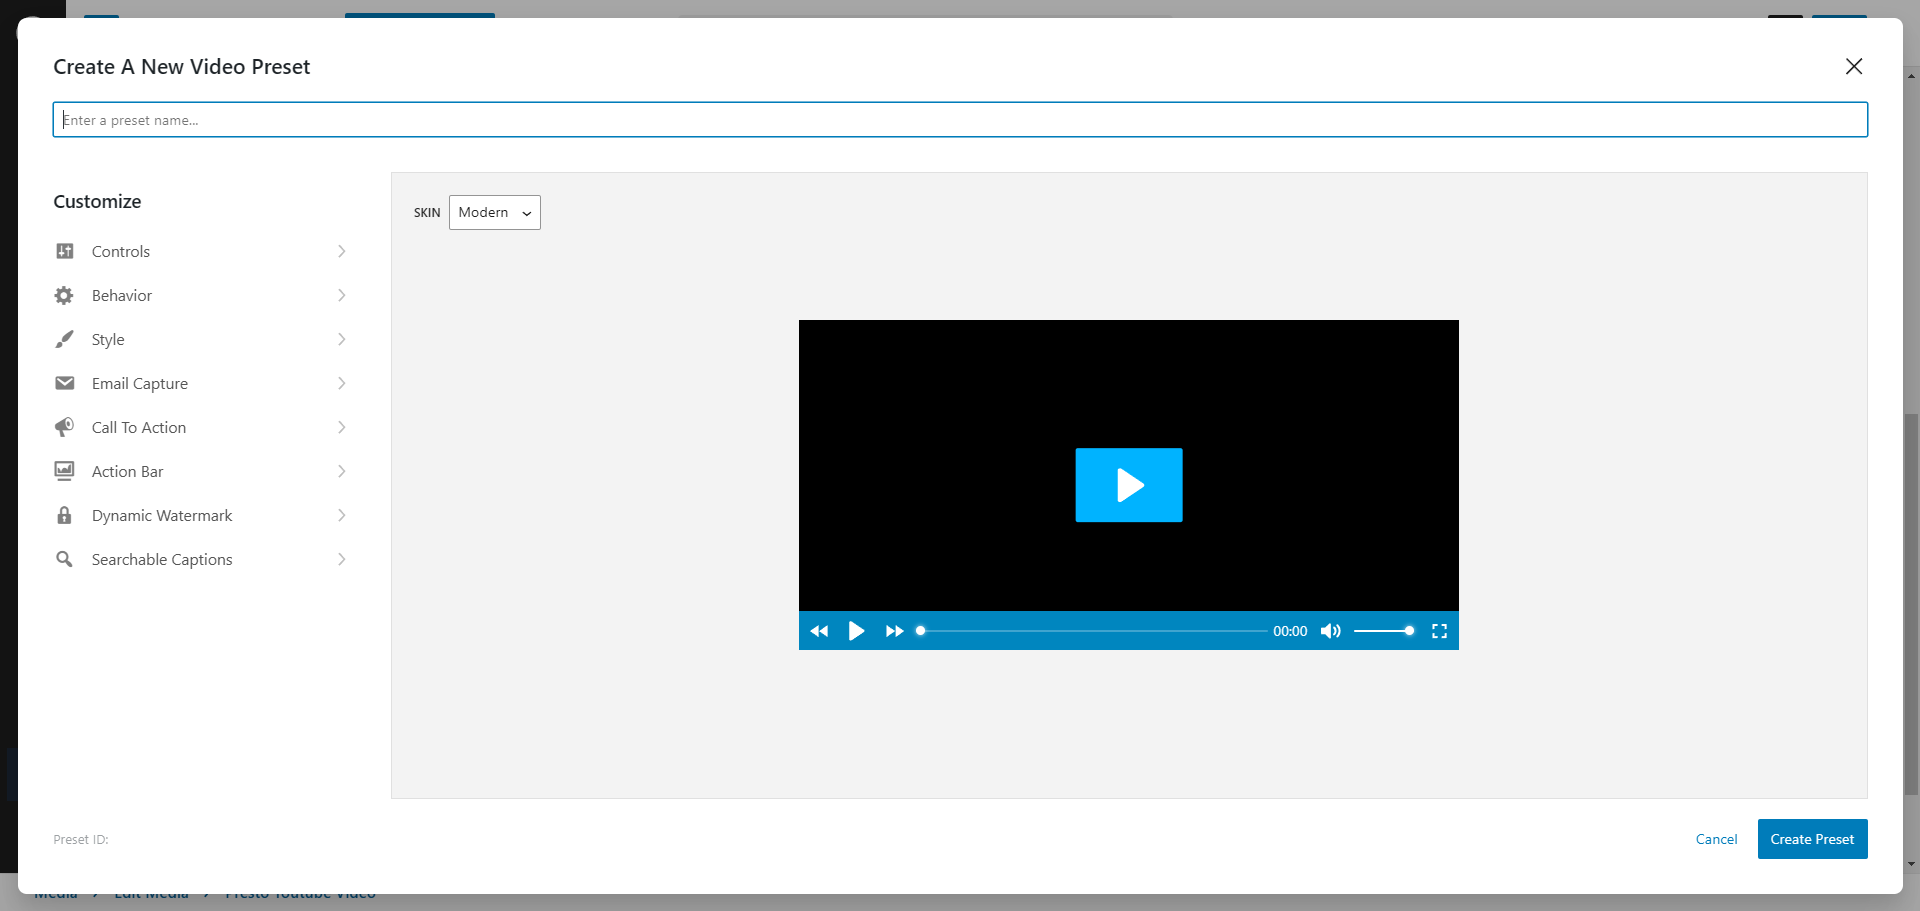
Now that we’ve set up your custom preset, let’s take a closer look at the available options.
Skins
Skins are essentially the overall feel and design of your player. At the moment we have 4 to choose from:
- Modern (default)
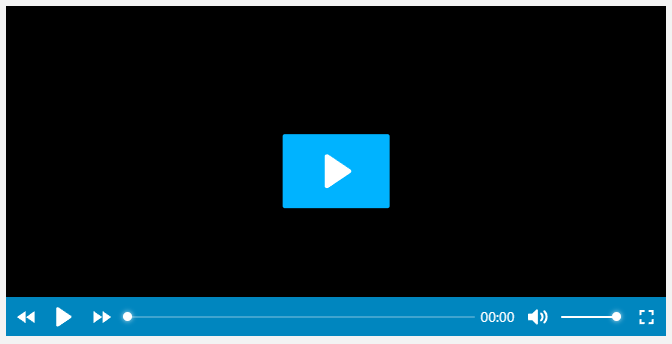
- Business
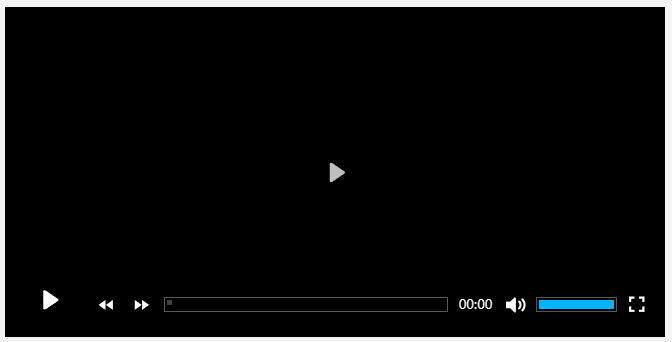
- Stacked
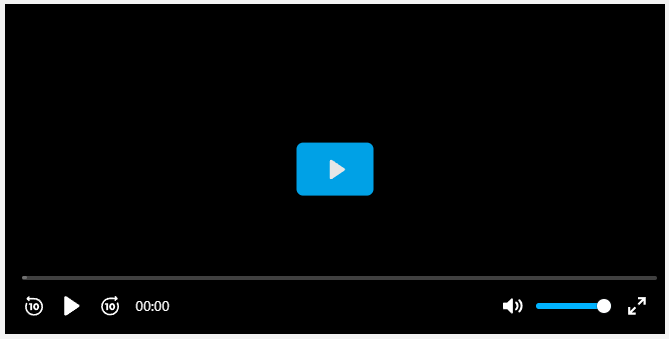
- Basic
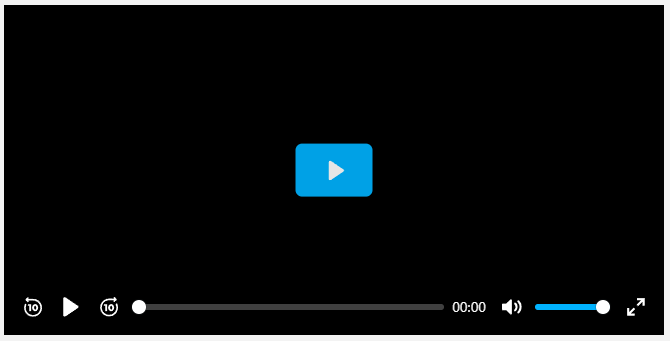
Feel free to choose one that suits your needs. We are tirelessly working to update this collection and add more to the list.
Controls
The controls options basically lets you set the behavior and appearance of the controls of the video like the Play Buttons and Captions.
- Large Play Button – Adds an oversized play button overlay at the center of the player, enhancing accessibility by making it easier to start video playback.
- Rewind – Includes a button that rewinds the video by 10 seconds, useful for quickly revisiting recent parts of the video for clarity or review.
- Small Play Button – Provides a compact play button at the bottom of the player, offering a minimalist control option.
- Fast Forward – Adds a button to skip forward by 10 seconds, useful for bypassing brief segments or advancing the video quickly.
- Progress Bar – Displays a visual timeline of the video that users can interact with to jump to different points in playback.
- Current Time – Shows the video’s current timestamp, helping viewers track their position within the video.
- Volume – Provides a volume control slider, enabling users to adjust audio levels directly on the player.
- Speed – Includes controls to change playback speed, allowing viewers to watch the video faster or slower to suit their needs.
- Picture-in-Picture (HTML5 Only) – Allows the player to be docked on the screen as a smaller overlay while using other applications, ideal for multitasking.
- Fullscreen – Adds a button that enables full-screen viewing for a more immersive video-watching experience.
- Captions – Introduces a dedicated toggle button for enabling or disabling captions, improving accessibility and support for various viewing environments.
Behavior
The behavior settings give you control over how the player responds to user interactions. These settings are especially useful if you’re working with an LMS or any platform where you want to limit user interaction with the player, providing a more controlled experience.
- Auto-Hide Controls – Hides video controls automatically after 2 seconds of no mouse movement, providing a cleaner viewing experience.
- Show Time Elapsed – Displays either the time elapsed or the time remaining for the video; by default, the time remaining is shown.
- Save Play Position – Saves the user’s play position, allowing them to continue the video from where they left off when they return to the page.
- Captions On By Default – Toggles whether captions should be active automatically when the video starts.
- Focus Mode – Ensures playback occurs only when the browser tab is visible and the video is within the viewport, reducing unnecessary usage.
- Sticky On Scroll – Pins the video to the side of the screen while the user scrolls, keeping it accessible when the video is playing.
- On Video End – Offers options to loop the video or go back to the start after it ends.
- Hide YouTube UI (Experimental) – Removes the YouTube logo and related videos, providing a distraction-free playback experience.
- Lazy Load Videos – Enhances page loading speed by only loading the video when the user clicks to play it.
Style
Style options are options to further customize the style and colors for the elements.
- Hide Logo – Removes the logo displayed on the video for a cleaner appearance.
- Round Corners – Adjusts the player’s border radius to create rounded corners, with the radius size customizable (e.g., 0 for sharp edges).
- Caption Style – Allows selection between default caption styling or a “Full” style for enhanced visibility.
- Caption Background – Sets the background color for captions using a HEX color code (e.g., #000000 for black).
Email Capture
This option allows you to set an email capture for your videos for the purposes of lead generation.
- Enable – Activates an email collection form that appears over the video player along with a message.
- Display At (Percentage) – Specifies the point during playback (as a percentage) when the email form will be displayed (e.g., 0 for the start of the video).
- Allow Skipping – Provides viewers with the option to skip the email form if they prefer.
- Headline – Sets the headline text for the email form, intended to grab attention.
- Bottom Text – Displays additional text below the form; supports HTML for customized styling.
- Play Button Text – Defines the text displayed on the submit button, such as “Submit” or “Continue.”
- Button Color – Customizes the background color of the submit button.
- Button Text Color – Adjusts the text color of the submit button for better readability.
- Integrate – Allows selection of an email provider for connecting and storing collected emails.
- Style – Round Corners – Adjusts the border radius of form elements, with 0 creating sharp edges.
Call To Action
This adds a Call to Action button or CTA that you can fully customize. You can add a redirect link or any other CTA on the video overlay.
- Enable – Activates a call-to-action form that appears over the video player along with a message.
- Display At (Percentage) – Specifies when the call-to-action form is displayed during playback, such as at 100% (end of the video).
- Show Rewatch Button – Displays a button at the end of the video allowing viewers to rewatch it.
- Link – Adds a clickable link to direct viewers to additional content or resources.
- Headline – Sets the headline text for the call-to-action form, such as “Want to learn more?” to grab attention.
- Bottom Text – Displays additional text below the form; supports HTML for further customization.
- Show Button – Adds a call-to-action button for viewers to interact with.
- Button Text – Customizes the button text, such as “Click Here,” to encourage viewer engagement.
- Style – Round Corners – Adjusts the border radius of form elements, with 0 creating sharp edges.
- Button Color – Customizes the background color of the call-to-action button.
- Button Text Color – Adjusts the text color of the button for improved readability.
- Background Opacity – Sets the opacity percentage of the background overlay, such as 75% for semi-transparency.
Action Bar
This option adds an action bar below your player while it’s playing. This is very helpful when you want to have a sort of banner below the video that’s playing.
- Enable – Activates an action bar that appears below the video player during playback.
- Display At (Percentage) – Determines when the action bar is displayed, such as 0 for the start of the video.
- Text – Sets the text displayed on the action bar, such as “Like this?” to engage viewers.
- Action Bar Background – Customizes the background color of the action bar for better visibility.
- Button – Adds a button to the action bar for user interaction.
- Button Type – Specifies the type of button, such as “Custom” for tailored functionality.
- Button Text – Defines the button text, such as “Click Here,” to prompt user action.
- Button Link – Adds a clickable link to the button to direct users to additional resources.
- Round Corners – Adjusts the border radius of the button, with 0 creating sharp edges.
- Button Color – Customizes the background color of the button.
- Button Text Color – Sets the text color of the button for improved contrast and readability.
Dynamic Watermark
This option adds a simulated dynamic watermark over your video. This provides further branding options for consistency.
- Enable – Activates a simulated dynamic watermark that appears over the video.
- Text – Specifies the text for the watermark, with support for Dynamic Data inputs.
- Position – Allows placement of the watermark at locations like “Top Right” or “Top Left” on the video.
- Change Every 10 Seconds – Rotates the watermark’s position every 10 seconds to enhance security and visibility.
- Text Color – Customizes the color of the watermark text.
- Background Color – Sets the background color of the watermark for better contrast.
- Opacity – Defines the transparency of the watermark, such as 80% for a subtle overlay.
Searchable Captions
Show a search bar on your player which enables searching within the subtitles of the video.
- Enable – Activates a search bar on the player, allowing users to search within the video’s subtitles.
- Placeholder Text – Sets the placeholder text displayed in the search bar, such as “Search.”
- Minimum Matching Character Length – Specifies the minimum character length for search matches, e.g., 1 to include all matches or 2 to ignore single-character results.
- Threshold – Adjusts the match sensitivity of the search algorithm, where 0.0 requires exact matches and 1.0 allows for broader, less precise matches.
At the bottom of these options, you’ll also see the preset ID for the new preset you’ve created. This ID can be used in the Presto Player shortcode to apply your preset. You can learn more about using the shortcode here: Presto Player Shortcode.
Once you’re satisfied with your customizations, simply hit “Save,” and your selected preset will be applied to that video.
Our goal is to provide users with unlimited customization options through presets. Now that you understand what each setting does, you’re ready to create presets that align with your brand and help bring your vision for your videos and content to life.
We don't respond to the article feedback, we use it to improve our support content.